
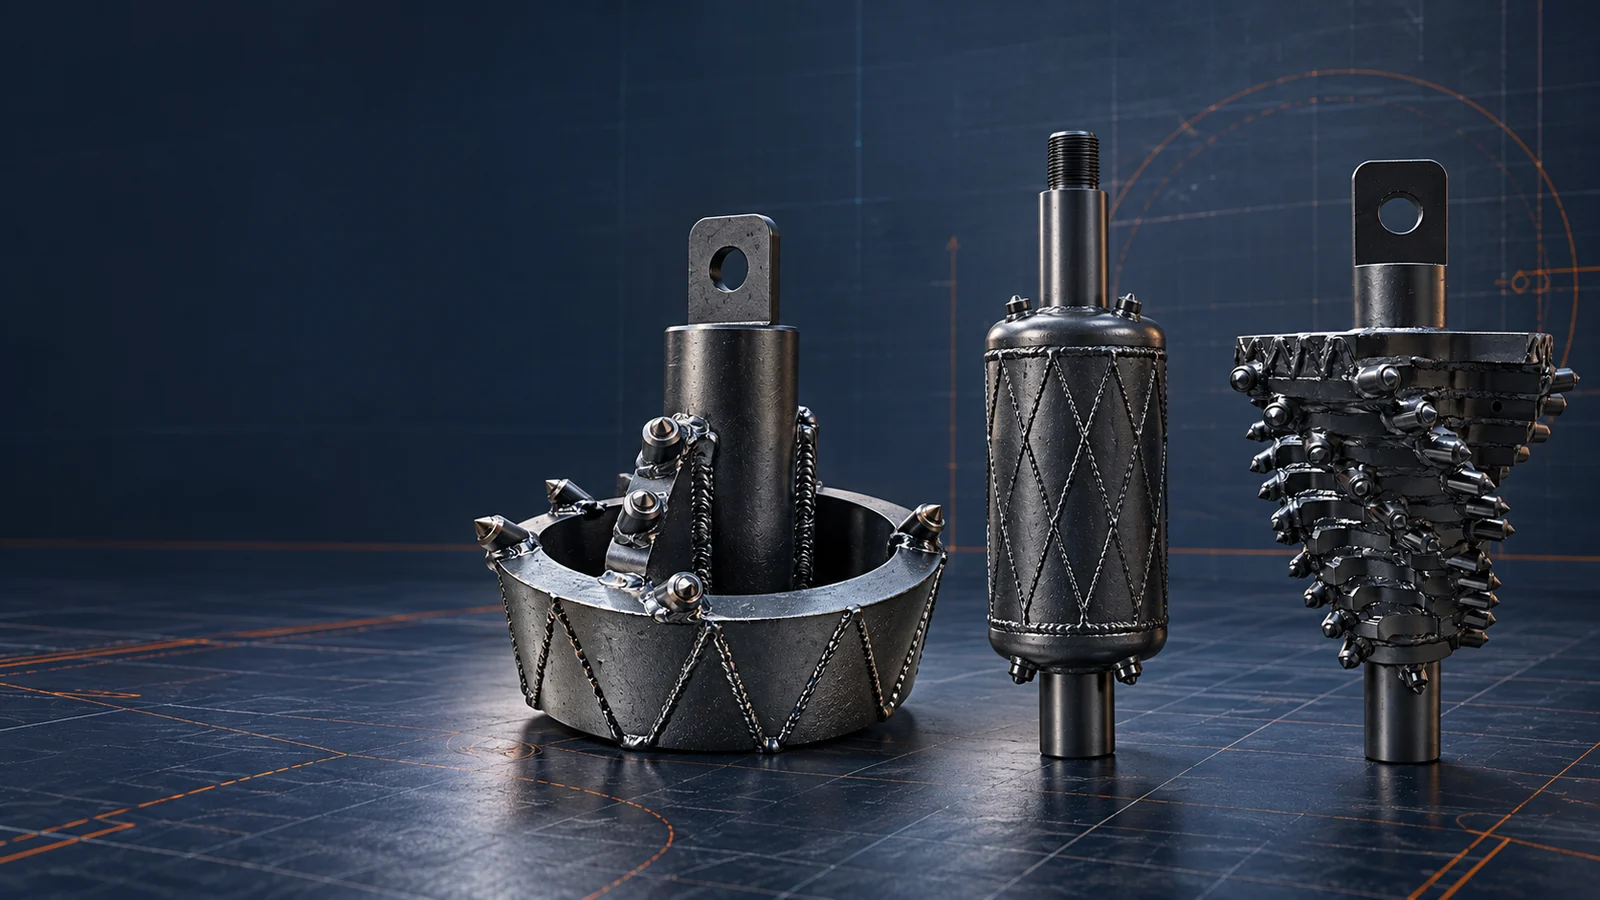
Choose an HDD reamer by matching its cutting and cleaning action to the formation, then confirm that its diameter, connection and operating demand fit the bore plan and drill rig. Reamer diameter alone is not enough. The wrong geometry may cut slowly, pack material around the body, overload the drill or leave an inconsistent hole.
Use the following eight-factor process before requesting a quotation or approving a tool drawing.
1. Define the formation along the entire bore
Start with more detail than “soil” or “rock.” Record whether the path contains clay, silt, sand, gravel, cobble, compacted fill, weathered rock, fractured rock or competent rock. Note changes by depth and distance.
The reamer must perform through the controlling interval. In cohesive soil, cleaning and balling may dominate. In unstable sand, bore conditioning and fluid control may dominate. In rock, cutter type, gauge protection and removal of fragments become central.
2. Identify the reamer’s required action
A reamer may primarily cut, mix, pack, crush or condition. Common categories include:
- Fly-cutter/open-blade reamers: open geometry for cutting and mixing, often considered in suitable soil formations.
- Fluted reamers: use flutes and cutters to engage compacted or variable material while providing spoil paths.
- Barrel or packer reamers: condition and compact a bore in suitable, relatively stable soil.
- Multi-stage reamers: distribute enlargement across stepped cutting diameters.
- PDC reamers/hole openers: use fixed cutters to shear suitable consolidated formations.
- Roller-cone hole openers: crush and chip rock with rolling cutters.
No category is universal. Confirm the manufacturer’s intended application and the exact cutter configuration.
3. Calculate the required bore diameter
The final hole must provide space for the product, pulling hardware, drilling fluid and displaced material without creating unnecessary overcut. For many mini-HDD PE pipe applications, PPI guidance recommends a final hole diameter at least 50% greater than the product outside diameter, subject to stated limitations. That recommendation is not a substitute for the project specification or engineered design.
Consider:
- product pipe outside diameter and pipe bundle envelope;
- pulling head, swivel and transition geometry;
- soil stability and expected closure;
- bend radius and bore-path curvature;
- coating or product protection requirements;
- owner and engineering specifications.
4. Decide whether enlargement should be staged
One large step-up may create excessive torque, pullback load or cuttings volume. Multiple passes can reduce peak demand and allow inspection between stages, but they add time and handling.
Plan each pass around the drill’s usable capacity and the ability to transport cuttings. For larger holes, progressive pre-reaming is often considered. Include a swab or conditioning pass when required by the installation procedure.
5. Match the reamer to the drill rig
Confirm usable—not merely advertised—rotary torque, thrust/pullback, rotation speed, pump capacity and drill-pipe limits. The reamer body, cutters and connection must be suitable for those loads.
Ask for:
- recommended operating range;
- maximum allowable load or torque if specified;
- compatible drill-pipe and starter-rod arrangements;
- required breakout equipment;
- total tool length and clearance at entry/exit pits.
6. Review fluid delivery and spoil paths
Nozzle quantity, orientation and replaceability affect face cleaning and spoil movement. The body geometry must leave a practical flow path around the reamer. A large solid body may condition suitable soil but can behave differently in coarse fragments than an open cutting frame.
Review the fluid plan with the nozzle configuration before manufacturing. Avoid modifying orifices in the field without checking pump performance and supplier limits.
7. Verify connections and pullback interfaces
Confirm thread standard, size, pin/box orientation, shoulder, adapter requirement, swivel rating and pulling-eye arrangement from drawings. Nominal descriptions can hide important differences.
The connection chain should be checked as a system. Its lowest-rated component controls the allowable load. Inspect threads, shoulders, retainers and welded interfaces before use.
8. Plan inspection and service
A reamer is a wear system. Before and after each run, inspect:
- cutting diameter and gauge protection;
- carbide cutters, teeth, PDC cutters or roller cones;
- missing, cracked or rotated components;
- welds and body deformation;
- fluid ports and nozzles;
- threads, shoulders and adapters;
- swivel rotation and pullback hardware.
Photograph the same views after each pass. A simple record of diameter, damage location and formation interval can make the next tool selection more accurate.
Reamer-selection worksheet
Provide these fields to the manufacturer:
- ground description and geotechnical data;
- pilot diameter;
- proposed pass diameters;
- final hole requirement;
- product type and outside diameter;
- bore length, depth and minimum radius;
- drill make/model and pipe connection;
- torque, pullback and pump capability;
- preferred swivel/pulling arrangement;
- any dimensional or transport limits.
Frequently asked questions
What is the difference between a reamer and a hole opener?
Both enlarge a pilot bore. “Hole opener” is commonly used for rock tools with roller cones or fixed cutters, while “reamer” is used broadly across soil and rock applications. Naming varies by manufacturer, so the cutting action and application range are more important than the label.
Is a barrel reamer suitable for rock?
A barrel or packer design is generally associated with bore conditioning in suitable soils. It should not be assumed to cut competent rock unless the specific design and manufacturer’s application data support that use.
How many reaming passes are needed?
There is no fixed number. Formation, final diameter, pilot quality, rig capacity, fluid program and product specification determine the sequence.
What causes premature reamer wear?
Common contributors include incorrect cutter selection, abrasive ground, inadequate cleaning, excessive force, lost gauge protection, damaged connections and continued use after a cutter or cone stops functioning correctly.
References and further reading
- Plastic Pipe Institute: HDD back-ream choices
- Ditch Witch: Backreamer categories and applications
- Vermeer: Inspecting HDD tooling
Suggested internal CTA: Request a reamer configuration review using the ten worksheet fields above.